For a first color analysis photo, removing tinted makeup usually makes the comparison easier to interpret. Foundation, blush and lip color add their own warmth, depth and contrast, so a tool may respond partly to the products rather than the face beneath them. A bare-faced image is a useful baseline, though it is not a promise of an accurate season. An everyday makeup photo can answer a second, equally practical question: which clothes work with the look you normally wear?
Decide what you want the photograph to tell you
If you want to explore colors beside your natural coloring, take the first photo without products that deliberately change visible color. Foundation, tinted moisturizer, bronzer, blush and lipstick are the obvious examples. Brow products, eyeliner and mascara can also change the apparent definition around the eyes, particularly in a close crop.
That does not make makeup a source of bad information. It changes the question. A photo with your usual berry lipstick may help you judge an outfit you intend to wear with that lipstick. It is less useful for deciding whether your natural lip color supports a particular palette. Keep these two purposes separate and neither photograph has to stand for every version of your appearance.
Consider product finish as well as tint. A reflective highlighter can make a cheek appear much lighter in one angle, while a very matte base may reduce visible variation. A clear gloss can introduce highlights even without strong pigment. If a product noticeably changes what the camera records, leave it out of the baseline or write down that it is present.
Permanent and long-lasting cosmetic color is different from something you can easily remove. Do not scrub or irritate skin to produce a supposedly perfect test image. Use your normal appearance, note the relevant products or treatments if a human analyst asks, and interpret the result within those limits. The comparison should serve your clothing choices rather than become a demanding preparation ritual.
Prepare a comfortable baseline without chasing perfectly even skin
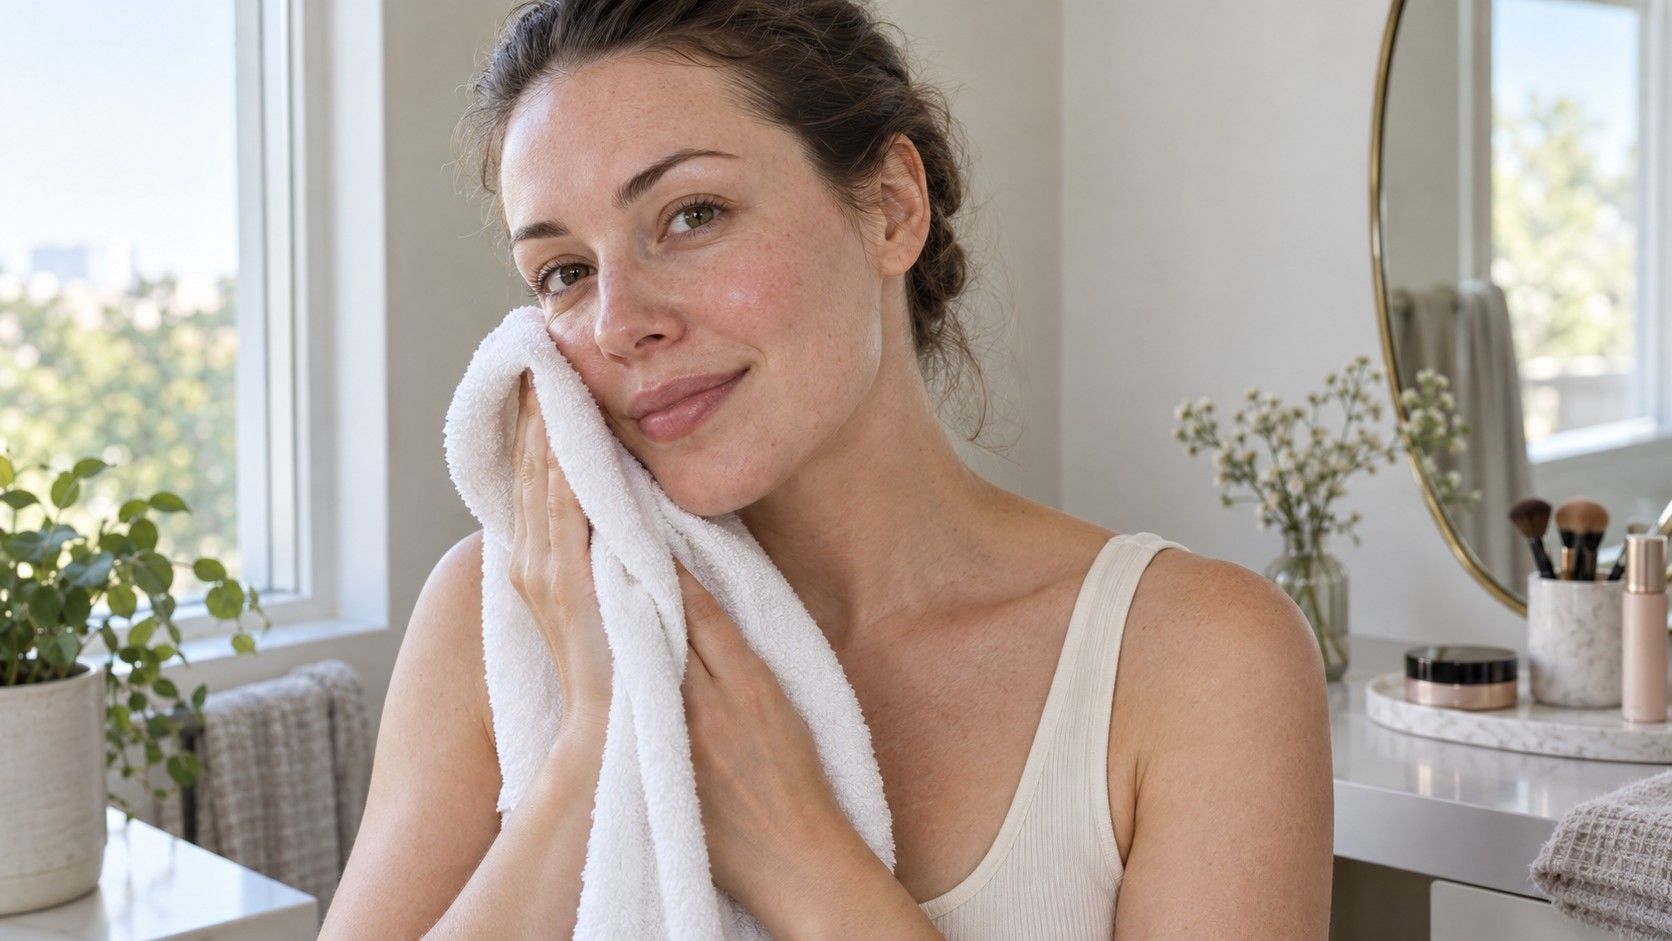
Use your ordinary gentle cleansing routine if you are removing makeup, then wait until any temporary flushing from rubbing or washing has settled. There is no universal number of minutes that guarantees a neutral appearance. Take the photograph when your skin feels comfortable and looks typical for you, rather than immediately after exercise, a hot shower or a vigorous cleanse.
Keep normal skincare that you need, but check how it looks on camera. A product that leaves a visible pale cast or strong shine can alter the image even if it is not marketed as makeup. Avoid adding a new product simply for the test. If necessary, postpone the photo until the surface looks more like your ordinary skin rather than experimenting with several fixes.
Uneven tone, freckles and natural differences between the face and neck belong in the picture. Do not use concealer to make the baseline more uniform, then assume the resulting image represents unaltered coloring. A color comparison is not a skin-perfecting exercise, and it does not require a smooth, symmetrical face.
If you would rather keep makeup on, you can still compare clothing in the mirror or submit a photo where a service permits it. Be clear about the purpose and cautious about the interpretation. A limited test done comfortably is more useful than a stressful process whose result you feel obliged to obey.
Get the light and camera right before judging the face
Face a window in indirect daylight with the phone around eye level. Avoid strong sunlight across one cheek, a bright window behind your head and mixed warm lamps. Choose a plain background and a neutral top or covering that does not reflect a strong color upward. A red towel over the shoulders can influence the face just as a red shirt can.
Use the normal camera view without beauty filters, skin smoothing or a colored effect. Check the saved photo as well as the preview, since processing may differ. Keep enough of the face and neck visible to understand the scene, following any specific framing requirements of the service. Remove tinted glasses for the comparison if that is comfortable; ordinary reflections on clear lenses are another reason to adjust the light angle.
Expose the image so that detail remains visible across the face. Very bright highlights and very dark shadows both hide information. Do not lighten a deeper complexion until it resembles a different skin tone, or darken a pale face to recover a dramatic background. Move the camera or simplify the scene when the automatic exposure struggles.
A color analysis test photo taken in stable light gives a tool a more consistent starting point, but it remains a camera interpretation. White balance, screen settings and software processing still matter. If your skin and the background both look unusually orange, correct the room setup and retake the image rather than concluding that your coloring is exceptionally warm.
Handle redness and temporary changes without turning them into a diagnosis
A flushed cheek can dominate your attention, especially when you are inspecting a close-up. It does not automatically mean that cool clothing is required, nor does a yellow-looking area settle a warm season. Look at the whole face and compare several fabrics rather than selecting a palette to cancel one patch of color.
If the photo is clearly unrepresentative of your usual appearance, take another on a different ordinary day under similar light. Keep both privately if you want to see how much the input varies. Do not choose whichever image produces the season you hoped for; choose the image that best matches how you normally look.
Makeup can be useful for your everyday style while obscuring what caused a test result. A green-tinted corrector, for example, intentionally changes the appearance of redness. Photographing it is a test of that corrected appearance. It does not establish the underlying tone of the uncovered skin or explain why the redness is there.
Color analysis is a styling activity. Use it to compare fabrics, not to interpret a new skin change or decide how to treat one. You can pause the photo experiment whenever the skin is uncomfortable. No wardrobe decision requires you to resolve every variation visible in a phone close-up.
Take a second photo with your everyday makeup
Once the baseline is saved, apply the makeup you actually wear and repeat the photograph with the same light, seat, crop and clothing. The useful pair is natural coloring beside ordinary, repeatable styling.
Compare the photos yourself before submitting them to any tool. Notice whether the lipstick changes the balance of light and dark, the blush introduces warmth or the brows create stronger definition. These observations help explain why an online result might move between categories. A changed label is not proof that either image is false.
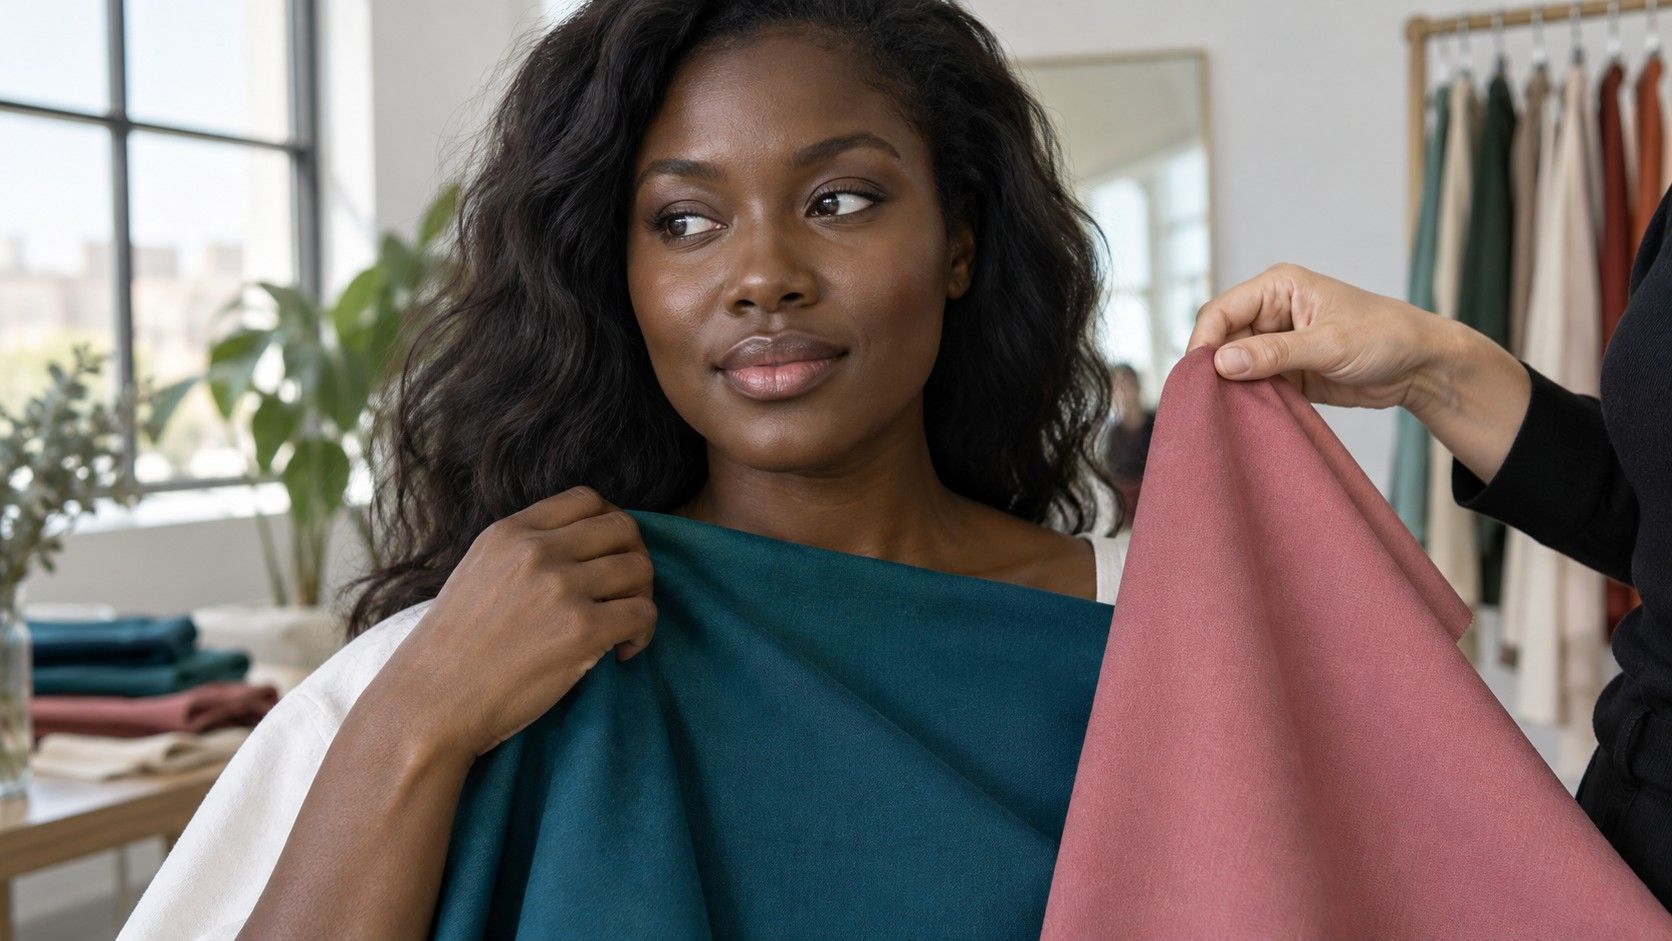
Next, try one familiar neutral and two colored fabrics below the face in both looks. A muted rose top might feel easy without makeup, while a clearer red might make more sense with a stronger lip. You can keep both combinations. Personal style does not have to collapse into one palette that works equally well under every styling choice.
Change one product at a time if you are investigating a particular mismatch. Keep the base and eye makeup steady while comparing two lip colors, for example. Otherwise a new top, new blush and different lighting leave you unable to tell which change produced the effect. The simpler comparison usually gives you a decision you can use.
Read the result before uploading more photographs
If you searched for “color analysis upload photo free,” check what happens to the image before submitting it. Look for understandable information about storage, deletion and whether the upload is used beyond producing the result. Use a plain crop with no other people, personal documents or revealing background details. A free result does not remove the need to choose what you share.
Treat the returned palette as a set of candidates. Pick two or three suggested colors you can test with clothes you already own, then compare them with a trusted favorite. If a result seems implausible, first review the photograph for tint, exposure and filters. Repeatedly uploading slightly edited selfies can produce a pile of labels without improving the underlying comparison.
Keep the baseline and everyday photos clearly labeled in your own notes so you remember what each result describes. Record a few observations about physical fabrics: which neckline looks clear, which neutral feels heavy, which accent you enjoy. Those details remain useful when different services disagree. Makeup removal has done its job when it helps you understand the comparison, not when it delivers a permanent rule for getting dressed.